
|
Devastator's Armor HijinxThe following was sent to us on November 3, 2004 - but it seems likely that it was written/created considerably earlier. From a semi-blog at our site: http://www.screencheaters.com The Halo Armor - The Procedure Hey there fellas - I thought that I would start showing you how I have been putting together some of the Halo Armor pieces I have recieved (and modified) from the guys over at Nightmare Armor. I have been putting this all together mainly for 2 reasons:
(BTW: Confirmed at ToysRUs - Midnight opening on the 8th w/ a 'BIG Event' so says the manager and head of security for them) Overall, I used a lot of clear silicone thorought the entire armor project - It connects the various armor pieces to the webbing very well and is good for all weather usage. At EMS (Eastern Mountain Sports) you can buy webbing and plastic quick connect clips. Webbing is the nylon strapping that is more commonly used in backpack straps, etc.. It comes in may colors, thicknesses and widths. Other than that, velcro was used liberally as well. The undersuit is a black flight suit that can be purchased just about anywhere. For the 1st segment, I thought I'd show off how I had to modified a typical piece of armor as well as the construction phases of the Red Flag. As you can see in the Pic below, this is the upper bicep piece of armor. It was sent to me with no instructions as to how to attach this to yourself, so I had to come up with some constructive ideas on my own. I went with 0.5 inch webbing for the bicep pieces. I connect one looping piece around the inside of the armor using clear silicone and put a connector on it - I have since also put some velcro inside to connect to suit as well - This will allow greater stabliity while moving the arm. One more piece of webbing on the top is attached for overall weight support of the armor. A clip is attached and sewn shut. The other half of the clip is sewn onto the upper shoulder of the flight suit. 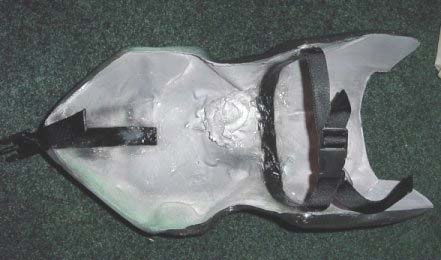
More armor details to follow if there's interest... The Red Base's Flag turned out to a project onto itself - This was pretty damn tough as I did not know how to operate a sewing machine. 1st off I purchased the fabric at a store (I was the only guy in there the whole day, I'm sure) and brought it home. I got a 3.5 x 11 foot length of a glossy-red for a 3 x 5 foot flag (standard size) - This was because I wanted to fold over half of it to make it thicker, more 'real flag looking', and allow me to put the snake icon on it (the snake Icon was taken for a screen shot of Halo PC - Props to Screen Cheater for the good idea!) I took a piece of glossy-black and made a square piece (about 2.5' sq.) to be the background of the image. After sewing the folds and hemming it up a bit I attached the black piece to the red in the area for the Snake Icon. 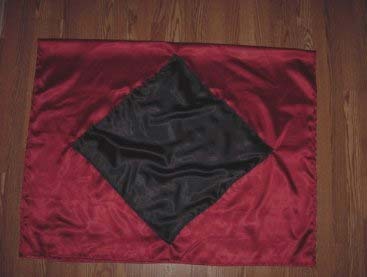
I free-handed the snake image onto a lage sheet of paper - Not bad, eh? 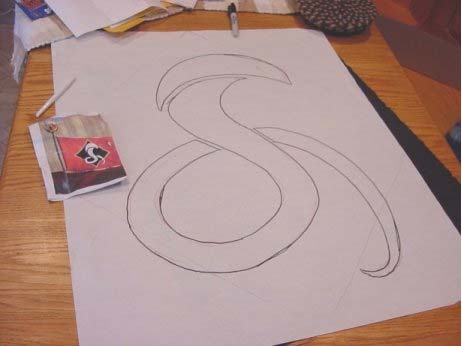
I then cut out the stenciled paper to double check the dimensions. 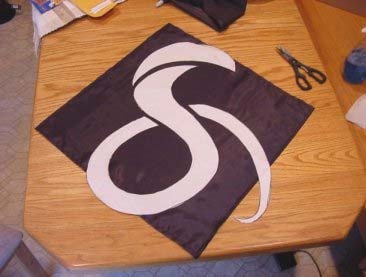
Using the stencils, I made the 3 snake pieces out of regular white cloth. Very tought to fold over the edges an 'hem' them so that it looked 'neat' and not scraggly. Attaching the final 3 white snake-pieces to the black and red of the flag was quite daunting, but I muddled my way through it. Not exactly Betsy Ross, but it'll do for Nov 8th! (I added a 'Red Eye' to the snake as well) 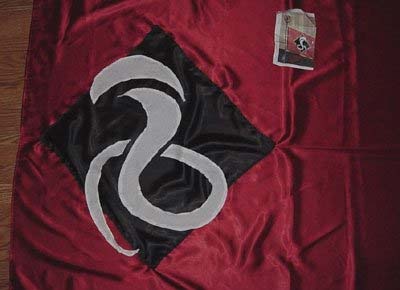
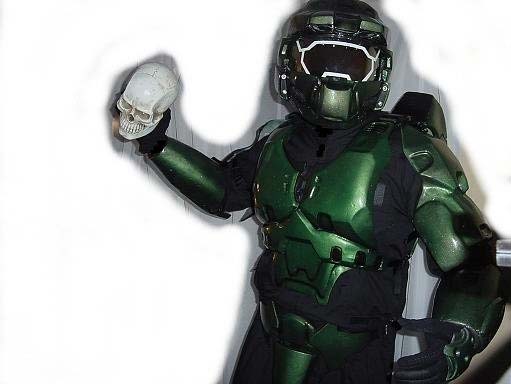
All I have to do is atttach it to the pole with the skull: 
If anyone is interested, I can continue this and add more details as to how I did all this (Including the helmet & inner helmet with speakers) Here's a taste of the finished goods as well.... 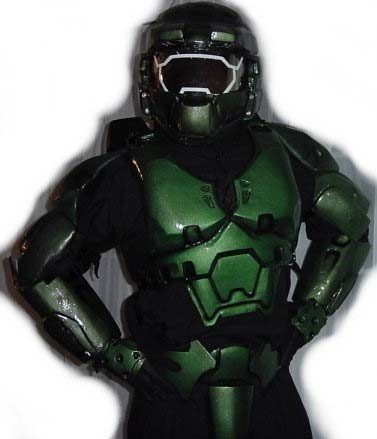
I bet a fiddle of gold against your soul that I think I'm better than you
|
|
|